آموزش فتوشاپ و ترفند های آن
آموزش تاکتیک ها و معرفی ابزار ها، دانلودآموزش فتوشاپ و ترفند های آن
آموزش تاکتیک ها و معرفی ابزار ها، دانلودطراحی جالب آتش اثر متن با ذرات در فتوشاپ
OK Let’s get started!
To complete this tutorial, you will need the following stocks:
Cloud Brushset (Pick one from the list)
Step 1
Create a new document sized 770px * 900px with black background, create a new layer and use the cloud brush you picked to add some cloud texture to the top and bottom part of the canvas as shown below:
Hint: If the default brush size is too large, reduce its size to fit our canvas size.
Create a new layer again and add some smoke pattern with a cloud brush (with layer opacity set to around 20%):
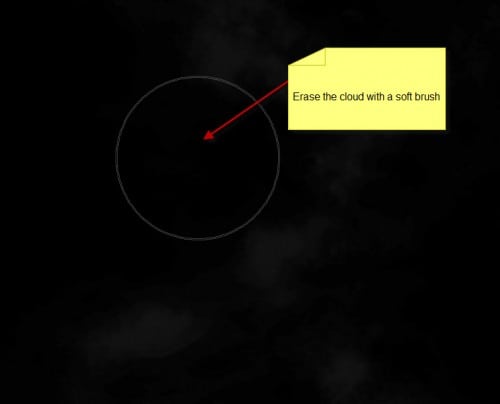
Use a soft eraser to remove the edges of the smoke layer so it blends into the background:
Step 2
Create a new layer and type a letter on this new layer with a dark grey colour:
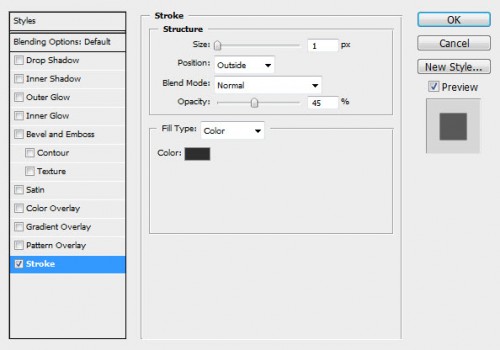
Apply the following Stroke effect to this text layer:
Then change this colour of this text layer to black, you will have the following effect:
Load the fire texture into Photoshop, use the quick selection tool and select a piece as shown below:

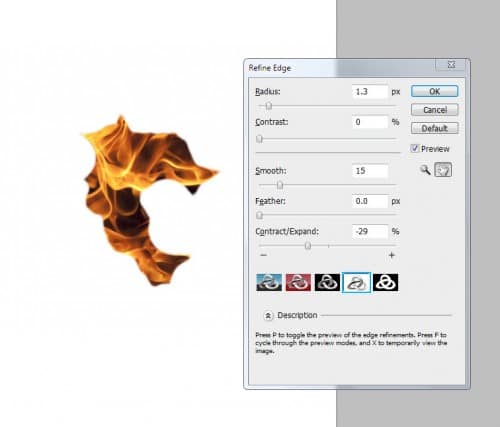
Apply the following Refine Edge settings to smooth out the edge:
Copy and paste the selection onto our text as shown below:
Step 3
Now let’s add some liquifying effect to this fire texture, use the liquify filter with the following settings:
Then, use the forward warping tool in the liquify filter, go crazy on this fire texture and add some flowing effect:

Apply the following Black and White adjustment to this fire layer:
Duplicate this fire layer a few times, resize and rotate them, then attach them to different part of the text as shown below:
Step 4
Now we can add some fire particles onto the text – go back to the fire texture and use the quick selection tool to select a few fire pieces as shown below:
Apply the following Refine Edge option to the selection:
Copy and paste the selection onto our text, resize it and change the blending mode to “Hard Light”:
This is effect so far:
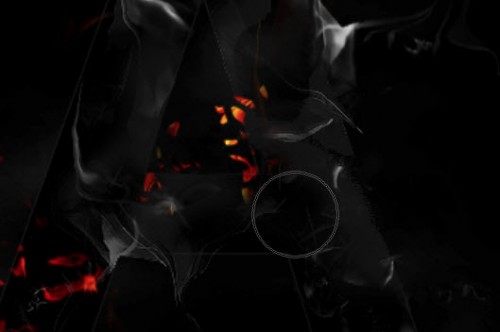
Duplicate this layer a few times and attach them to different parts of the letter as shown below:
Step 5
Now let’s make a simple stripe brush – create a new document with a thin rectangular shape, add a new layer and fill it with black colour as shown below:

Then define a new brush via Edit > Define Brush Preset:
Apply the following brush options to this brush:
Shape Dynamics
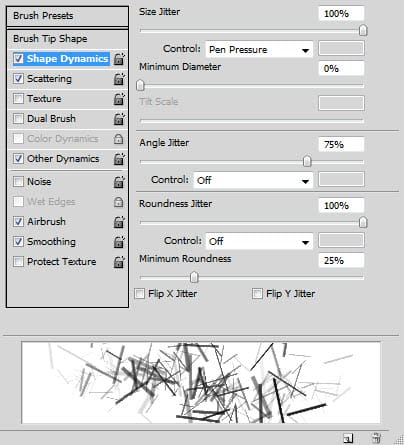
Scattering
Other Dynamics
Tick the “Airbrush” and “Smoothing” options.
Use this newly created brush, paint some particles around the text as shown below:

Step 6
We’re almost done! For some final retouches, I added some red colour over the text with a colour balance adjustment layer (you can also use a red brush to paint over the text with the “Color” blending mode):
Hint: use layer mask on this colour layer to assist masking colours from the areas that you don’t want to have colours on.

Use a soft white brush, add some highlight over the text with the “overlay” blending mode for this highlight layer:
I also added some more fire texture around the text with “Hard Light” blending mode for those added fire layers:
I also added some lines with method described in this tutorial here:

and here is the final effect I have for this tutorial: (click to enlarge)
That’s it for this tutorial! Hope you enjoy it and find it useful! Till next time, have a great day!


