آموزش فتوشاپ و ترفند های آن
آموزش تاکتیک ها و معرفی ابزار ها، دانلودآموزش فتوشاپ و ترفند های آن
آموزش تاکتیک ها و معرفی ابزار ها، دانلودایجاد سوزش تایپوگرافی با اثر جلوه در فتوشاپ
In this tutorial, I will show you the steps I took to Create Burning Fire Typography with Sparkles Effect in Photoshop. This is an intermediate level Photoshop tutorial so some steps can be a bit tricky, but why not have a try!
Note: The Photoshop tutorial is done in CS6 – therefore some screenshot may have slighting different layout as in the earlier version.
We will focus on how you can add some cool fire and sparkles effect to your types with simple manipulation techniques in Photoshop. We will also go through some interesting adjustments and filter in order to achieve our effect.
This tutorial is inspired by the “Transformers: Fall of Cybertron” game types.
Here is a preview of the final effect I have for this tutorial: (click to enlarge)
!To complete this tutorial, you will need the following stocks:
Note: If you have any trouble adding the fire and sparks onto the text, check out this video tutorial below:
Step 1
I created a new document sized 1200px * 600px with black background. Load the Metal Background image into Photoshop and select a portion as shown below:

Copy and paste the selection onto our document and use the free transformt tool to distort it a bit as shown below: (this creates a flowing effect and adds some motion into the image)

We also want to erase the edges of the texture and some parts of it to create some depth, with a soft brush (set flow and opacity to 50%):
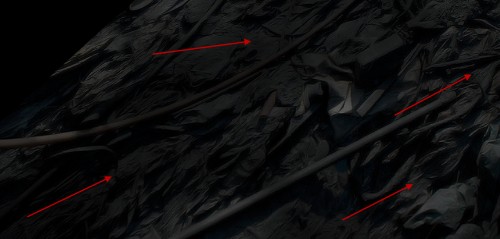
Add the following adjustment layers to this metal texture layer:
Levels

Curves

and here is the effect so far:

Step 2
Use the font we downloaded, type some texts onto the image with black font colour:
Hint: If you find it hard to see the text, use white colour first then switch to black.

Apply the following layer blending options to this text layer:
Bevel and Emboss

Pattern Overlay
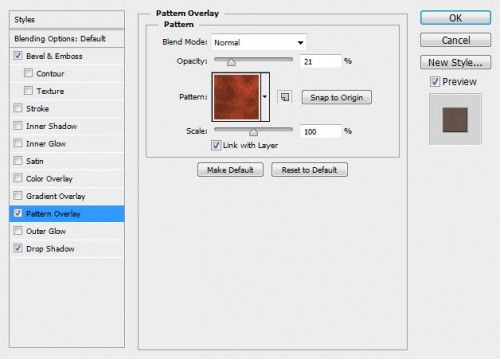
Use this pattern here:

Drop shadow:
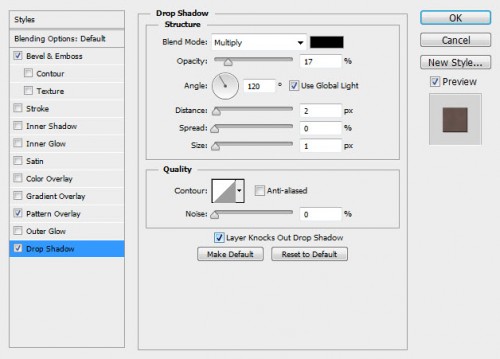
and here is effect you will have so far:

Step 3
We will add some fire texture onto the text. Load the fire image into Photoshop and select a piece from the texture with a 30px feather Lasso Tool:

Copy and paste the selection onto our document, resize and position it as shown below: (set this new layer as clipping mask to the text layer)

Duplicate this fire layer twice and keep them as clipping mask to the text layer, move them to other parts of the text as shown below:

We can go back to the fire image and copy over some more fire textures, and place them behind the text:
Hint: adjust their shape and size with the free transform tool for more variety.

Step 4
We will now add some sparkle effect into the text. We will make a selection of the following portion from the fire image with the lasso tool:

Paste the selection onto our text, and change the layer blending mode to “lighter”:

Use a soft erase to remove the edges and fade them into the background:
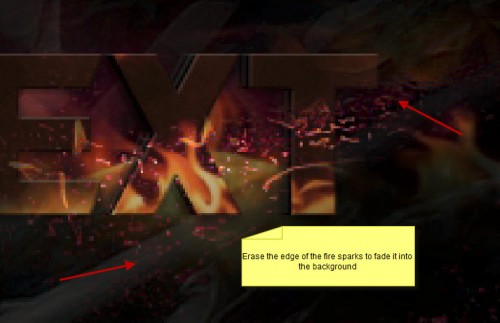
We will repeat this process and add some more sparkles to the text, make sure you resize and rotate each fire layer with the free transform tool:

Step 5
We’re almost done :) For the final touches, I added a curves adjustment layer to adjust the contrast a bit:

I also flattened the image, and applied the following “Reduce Noise” filter effect to sharpen the text:

Optional: I added some “Oil Paint” filter effect (CS6 only) to the text – I found this filter quite useful to soften the image and add some painting effect which looks quite nice:
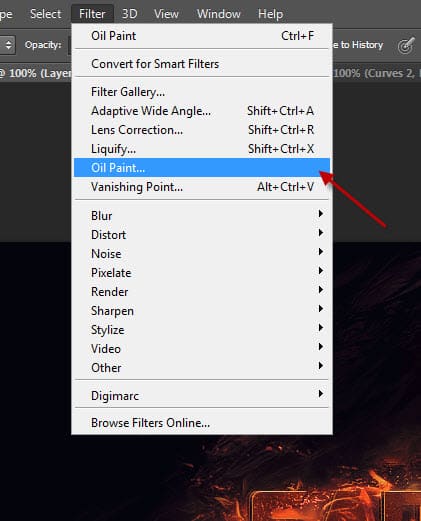
Here is the detailed Oil Paint filter settings I used:

You will have the following effect so far:
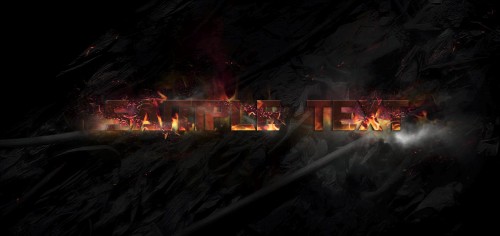
We can add some colour effect to the image, and here is the final effect I have: (click to enlarge)
That’s it for this tutorial! Hope you enjoy it and find it useful! Till next time, have a great day!


