آموزش فتوشاپ و ترفند های آن
آموزش تاکتیک ها و معرفی ابزار ها، دانلودآموزش فتوشاپ و ترفند های آن
آموزش تاکتیک ها و معرفی ابزار ها، دانلودایجاد یک اثر متن راکی با پس زمینه ی فضایی در فتوشاپ
OK Let’s get started!
To complete this tutorial, you will need the following stocks:
Step 1
Create a new document sized 900px * 1270px with black background. Create a new layer and use the star brush we downloaded, paint some space background: (set brush opacity and flow to be around 40% for a subtle effect)

Create a new layer and use a font of your choice to type a letter on the centre of the canvas:
Load the rock texture into Photoshop, and go back to our letter layer and load its selection:
Select the rectangular marquee tool, click and drag the selection onto the rock texture and select a piece from it:
Copy and paste our selection onto the text to cover it, turn off the original text layer and you will have the effect as shown below:
Step 2
Use a soft eraser, gently remove some parts of the rock texture as shown below:
Sharpen this rock texture a bit with the following Unsharp Mask filter settings:
Then, add the following 3 adjustment layer as clipping mask to this rock layer:
Levels
Curves
Brightness and Contrast
and you will have the following effect so far:

Step 3
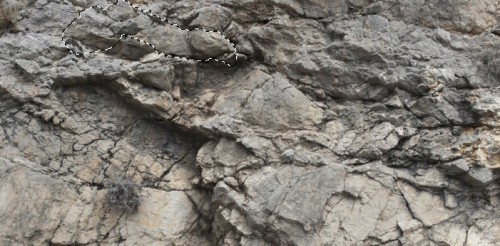
Now we can apply some more rocky texture onto its base and make the text looks better. Go back to the rock image and select a piece of rock as shown below:
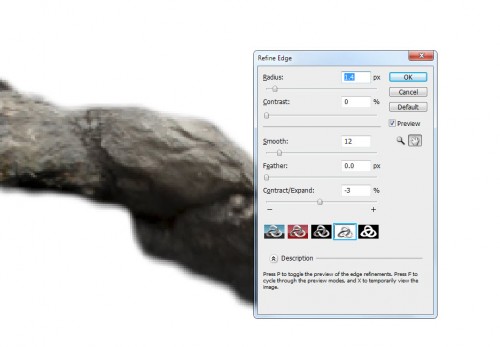
You can refine your selection with the refine edge filter (Ctrl + Alt + R) to smooth its edge:
Copy and paste the selection onto our texture, use a soft eraser to remove its edges and blend it in with the base texture:
Repeat the process above and add more rock texture onto the text:
Hint: leave some base texture exposed, this creates more depth. Also use the free transform tool to adjust the shape of the rock to join them together.
Step 4
Lets’s add some particles into the image. We can use the same rock texture and use the quick selection tool to select some rock pieces as shown below:

Copy and paste the selection onto our document, resize and attach it to the rock text as shown below:

You can also apply some warping effect to the rock pieces to add some motion to the text:
Duplicate this warped layer a few times and attach them around the text:
Also make sure you use a soft eraser to fade the flying rocks into the background to add some depth:
and here is the effect so far:
Step 5
OK we’re almost done :) For some final adjustments, we can render some light cloud with the cloud filter, and paint some grungy texture around the texture:
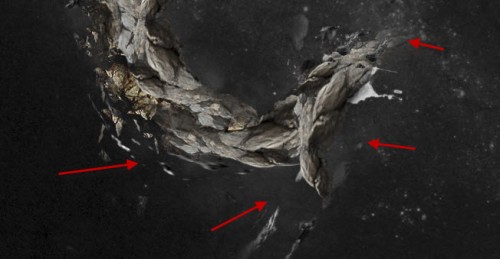
We can paint some abstract lines with a 3px brush for extra effect:

We can flatten the image, and apply some light Unsharp Mask settings to bring out some more details for the rocks:
I also burned some part of the text with the burn tool to add some shadow to the text: (around 15% strength)
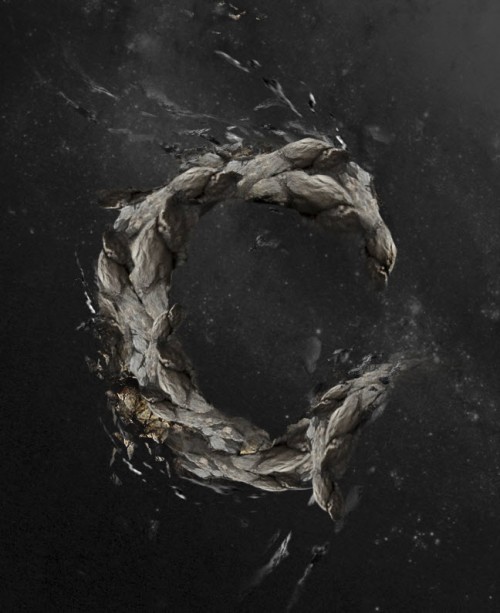
and here is the final effect I have for this tutorial: (click to enlarge)
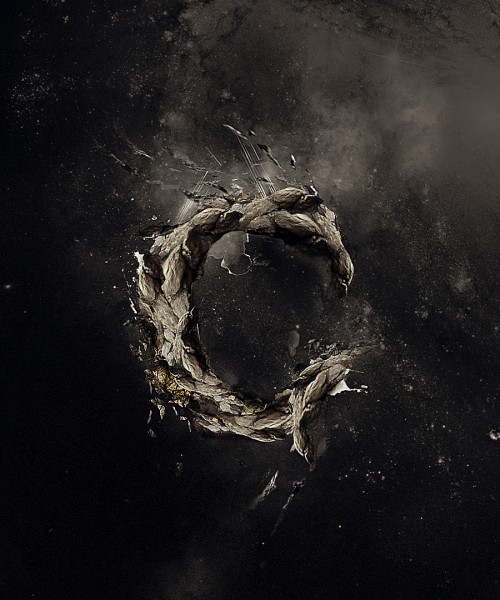
That’s it for this tutorial! Hope you enjoy it and find it useful :) Till next time, have a great day!


